
You cannot submit a Replit preview directly to the App Store or Google Play; stores require signed native binaries, provisioning, and store metadata. This guide shows the specific gaps, realistic time expectations, and practical steps to produce signed .aab and .ipa files, submit listings, and monitor reviews so your Replit project can become a public release.
How to Publish Your Bolt-Generated Mobile App goes deeper on the ideas above and adds concrete next steps.
What changes between a Replit preview and a store-ready submission?
Stores require native signing, provisioning, and policy artifacts that Replit does not provide.
| Replit artifacts (what you have) | Store artifacts (what you still need) |
|---|---|
| JS bundle / browser preview | Signed Android .aab and iOS .ipa |
| Dev manifest / local preview URLs | Bundle identifier / App ID and provisioned App Store Connect record |
| Unpacked source, package.json | Android keystore or Play App Signing enrollment |
| Client-side assets (preview icons) | Production screenshots at store resolutions and localized copy |
| Development env and dependencies | App Store privacy labels and Google Play Data Safety form |
| No native signing keys by default | Apple distribution certificate, provisioning profile, keychain access; Google keystore |
Explanation: this table lists concrete gaps you must fill after exporting from Replit. Interpretation: code is often the smaller piece; signing, metadata, and compliance are the operational tasks that take time and require coordination. Practical impact: add a short audit in your repo that lists each missing store artifact, assigns an owner, and sets a due date before starting builds.
When you move from outline to execution, 10 Best No-Code Mobile App Builders This Year helps close common gaps teams hit here.
How long does publishing from Replit take and where do delays happen?
Expect 4-24 hours of hands-on work for builds and submission plus multi-day account verification and review waits.
- Account setup and verification: 2-7 days wait, plus 1-3 hours active setup for tax, banking, and 2FA; organization reviews add variability.
- First native / EAS build: 1-16 hours depending on complexity and learning curve; cloud builders reduce macOS needs but add credential management steps.
- Store review: 2-14 days typical for Apple; Google Play reviews vary and Data Safety checks can add time.
One thing worth noting: provisioning and signing errors, plus reviewer questions, cause the longest delays. Plan buffers and set aside a day for follow-ups.
A complementary angle worth comparing lives in How to publish Replit app on Play Store.
How do I build, sign, and submit a Replit app?
You must produce signed binaries, enroll or supply signing keys, and upload verified metadata; the route depends on Expo EAS versus plain React Native.
Prerequisites: accounts, ownership, and project type
Create and verify developer accounts before heavy build work to avoid blocked builds; expect 1-3 hours of configuration plus verification waits up to several days. Decide Expo EAS versus plain React Native based on needed native control and your access to macOS.
Produce platform builds and validate on devices
Pick one path based on your workflow and comfort.
Expo EAS path
Add an eas.json production profile and run
eas build --platform all --profile production. Expect 1-6 hours to configure and verify the first cloud build. Tradeoff: faster setup but you must trust Expo with credentials.Plain React Native path
Export to a local machine or CI. Generate an Android keystore, update Gradle signing, and run
./gradlew bundleRelease. For iOS, create an App ID and provisioning profile, then archive with Xcode to export a signed .ipa. Expect 6-20 hours if you are learning native tooling; macOS is required for Xcode archives.Validation on devices
Upload iOS to TestFlight and Android to an internal testing track. Test main flows on at least two physical devices and confirm onboarding, permissions, push notifications, and purchases.
Upload metadata, privacy forms, and submit
Create App Store Connect and Play Console entries, upload artifacts, and complete privacy and Data Safety forms. Prepare screenshots and a privacy policy in advance; the first release typically takes 2-6 hours of focused work. Automate repetitive tasks like resizing screenshots where it pays off, but manually review compliance forms and reviewer notes.
For tradeoffs, checklists, and edge cases, Publishing Android Kotlin library along with source code rounds out this section.
Execution checklist: pre-flight, upload tasks, and post-launch follow-ups
Complete these checks before you submit to lower rejection risk and speed reviewer responses.
Pre-flight checks
- Confirm bundle / package identifiers and bump versionCode/versionName and build number; tag the release.
- Verify credentials exist and are backed up: Apple distribution certificate, provisioning profiles, and Android keystore or Play App Signing enrollment.
- Prepare assets and compliance: live privacy policy URL, production screenshots, localized copy, and reviewer test credentials.
One practical step: store signing keys and certificates in an encrypted, versioned vault and document recovery steps for your team.
Post-upload monitoring and release timing
- Respond to reviewer messages within 24-48 hours and include demo accounts and clear reproduction steps.
- Use Google Play internal testing to catch Data Safety flags before wide rollout.
- Roll out in stages (5-10%), watch crash and retention metrics for 24-72 hours, then increase if stable.
Final pre-launch checklist and automation option
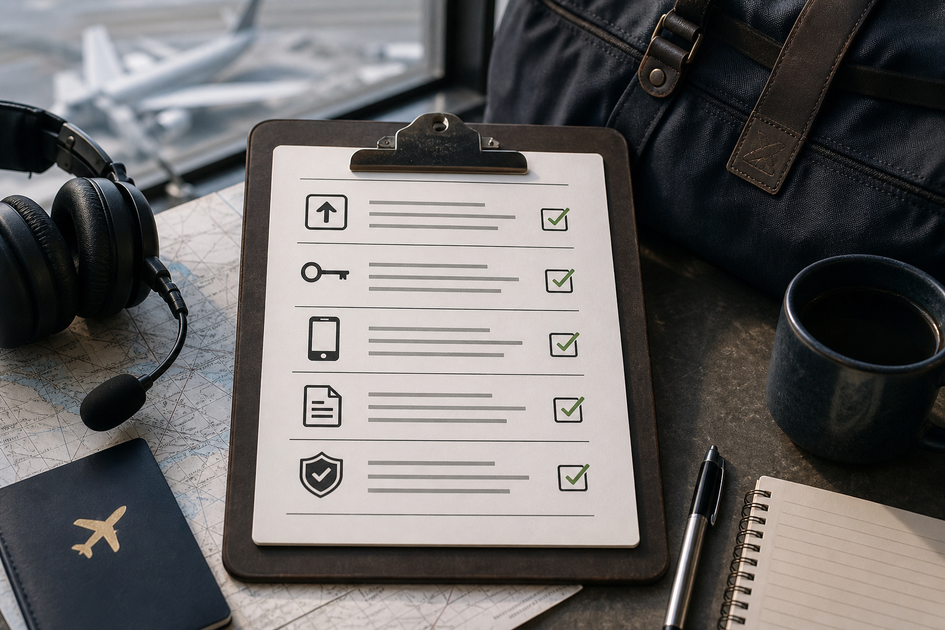
A compact, tappable checklist block containing the final pre-launch items: increment versions, verify keystore/profiles, capture production screenshots, publish privacy policy, run smoke tests on physical devices, and backup credentials.
Run smoke tests on physical devices to verify push, payments, analytics, and error logging. Archive signed artifacts, keystore backups, and the exact build IDs used for screenshots and review notes. If you automate packaging and uploads, expect 1-4 hours to wire CI and test the flow; automation reduces manual steps but adds an operational dependency you must secure.
Why Your App Is Ready but Still Cannot Be Published reframes the same problem with a slightly different lens - useful before you finalize.


