
If your app UI and most business logic live in Cursor, you can get a TestFlight build quickly, but App Store signing, metadata, and review are the real time sinks and require explicit project management. Expect a realistic 1-3 day sprint for a validated internal build when things go smoothly, and 1-3 weeks for an MVP launch once you include tester feedback, review cycles, and any native work.
Early proof - export-to-Xcode workflow and quick benchmarks
| Workflow | Typical metric |
|---|---|
| Cursor -> Export iOS/Xcode project -> Open in Xcode -> Configure signing -> Archive -> Upload | Day 0: export and Xcode open (30 min - 4 hr) |
| Key checkpoints | Archive/validate (30 min - 2 hr), provisioning fix time (15 min - 4+ hr) |
| Size to watch | IPA target: <100 MB preferred, <200 MB to avoid routine friction |
Interpretation: measure the three checkpoints on your first run to know whether you have a weekly iteration loop or you need an iOS specialist. Business impact: these simple numbers predict how many TestFlight cycles you can run before review delays or signing problems stall you.
How to Publish a Cursor-Built Mobile App goes deeper on the ideas above and adds concrete next steps.
Can you ship a Cursor-built iPhone app quickly, and what are the App Store challenges?
A Cursor export gets you to an Xcode project fast, but signing, metadata, and Apple review are the main operational bottlenecks. Cursor shortens UI and iteration work, yet founders must own developer account setup, certificates, entitlements, and reviewer expectations.
What this means in practice: plan for founder or product-lead time on signing and metadata, and budget 1-3 weeks for an MVP launch cadence if you include tester feedback and fixes. Expect longer if you add native modules or hit provisioning edge cases.
When you move from outline to execution, How to Build a Full iOS App With Cursor AI in a Weekend helps close common gaps teams hit here.
How do you export from Cursor and submit to App Store Connect?
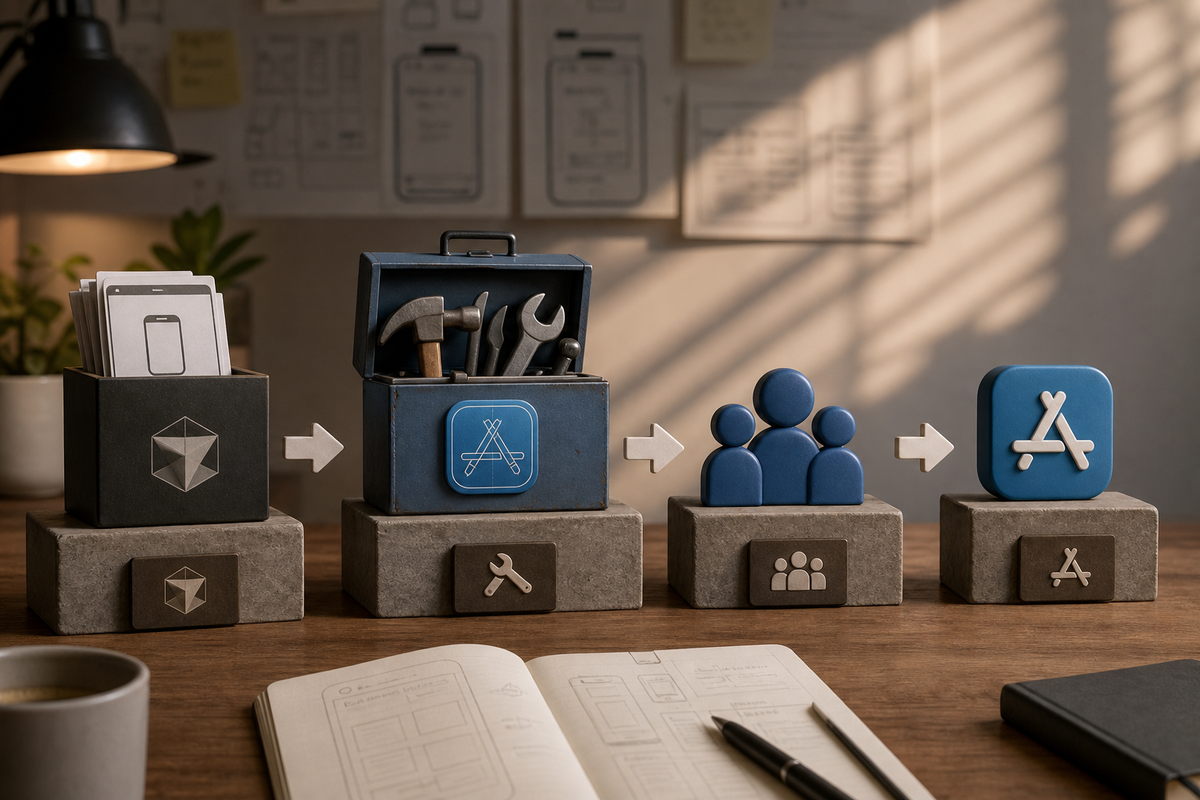
Process diagram showing Cursor project export on the left, arrow to Xcode with annotated actions (set bundle ID, signing, archive), arrow to TestFlight (internal testers), then arrow to App Store Connect for public release - each node labeled with the exact tool or checklist item.
Category: Outcomes
Statistic: 38%
Label: First-pass approval rate
Context: When metadata is complete upfront
Category: Cadence
Statistic: 2 - 3 weeks
Label: MVP beta launch cadence
Context: Ship, collect feedback, iterate fast on Cursor-built apps
Category: Workflow
Statistic: 4 steps
Label: Export workflow (Cursor → iPhone)
Context: Cursor → Xcode → Archive → App Store Connect
Follow these ordered steps to reduce surprises and keep iteration short.
Export from Cursor
Export the iOS/Xcode project into a clean macOS workspace and keep the exported artifacts on a dedicated branch or folder to avoid source drift.
Open and configure Xcode
Open the workspace, set the bundle identifier to match your planned App Store record, and choose the correct Apple Developer Team.
Signing and provisioning
Use Automatic Signing for speed on early builds; switch to manual profiles only if you need fine-grained entitlements. Expect hiccups with mismatched bundle IDs or expired certificates.
Increment build and deployment target
Bump CFBundleVersion and set a recent iOS deployment target to minimize compatibility issues and reviewer friction.
Archive and validate locally
Archive, then run Validate in Xcode before upload to catch obvious signing, entitlement, or missing-info errors.
Upload and monitor TestFlight
Upload, invite 5-10 internal testers, and collect crash logs and first-open timing. Triage quickly: prioritize crashes, then functional gaps.
How do you prepare App Store Connect metadata and assets?
Complete metadata early; missing fields or weak reviewer instructions are a common source of rejections and delays.
Create the app record
Register the app with the exact bundle ID and set the primary language.
Support, privacy, and legal fields
Add support contact, privacy policy URL, and marketing URL before submitting to avoid basic rejection reasons.
Screenshots and description
Provide screenshots for required sizes; use Cursor screens as a base but show real flows and data where possible.
App Privacy and compliance
Complete the App Privacy questionnaire and export compliance; map any in-app purchases to the product IDs in your bundle.
Reviewer access and notes
Supply a demo account, short reproduction notes, and a brief screen recording for non-obvious behavior to reduce back-and-forth.
During the cycle, track crash rate per session, first-open time, and device-specific failures. Typical turnaround target: triage and deploy fixes within 48-72 hours for beta issues.
For tradeoffs, checklists, and edge cases, How to Use Gemini API in Your Android App rounds out this section.
Tradeoffs, App Store policy risks, and post-launch ops

A compact checklist block for this article showing pre-launch items (signing validated, TestFlight pass, screenshots, privacy answers), review mitigation items (native feature proof, demo account), and post-launch ops (analytics, crash monitoring, update cadence) tailored to Cursor-built iOS apps.
Cursor speeds UI iteration but leaves some native and operational gaps you should plan for up front.
Performance and size
Profile with Xcode Instruments; large web bundles increase first-open time and energy usage. Aim to compress assets and lazy-load where possible.
Native features
Push notifications, background processing, camera integrations, and platform-specific flows generally need native modules or Swift/Obj-C code. If those features are core, budget 1-4 weeks of engineering work or a parallel native roadmap.
Debugging and fixes
Use TestFlight crash logs and symbolicate quickly. A realistic SLA is 48-72 hours to fix critical beta crashes; slower responses will stretch your launch timeline.
App Store policy risk
Apple may reject thin web wrappers. Reduce risk by adding at least one meaningful native interaction, providing a demo account, and attaching a short screen recording and notes explaining server-side behavior. Rejections cost time; treat mitigation as a project task, not magic.
Conclusion and next steps
You can convert a Cursor export to a TestFlight build rapidly if you treat signing, metadata, and reviewer mitigation as planned tasks and measure your first-run checkpoints. If you repeatedly hit native limits or provisioning complexity, plan for parallel native investment to avoid slowing product growth.


