
Start with a single-line value proposition and a compact, evidence-backed seven-step map to get a shippable MVP without wasting months on the wrong work. This short guide gives realistic timelines, owner and tool suggestions, and practical risk notes so you can budget time, spot tradeoffs, and reduce common App Store / Play rejection risks.
How long does it take to build an app - compact timeline and 7-step map
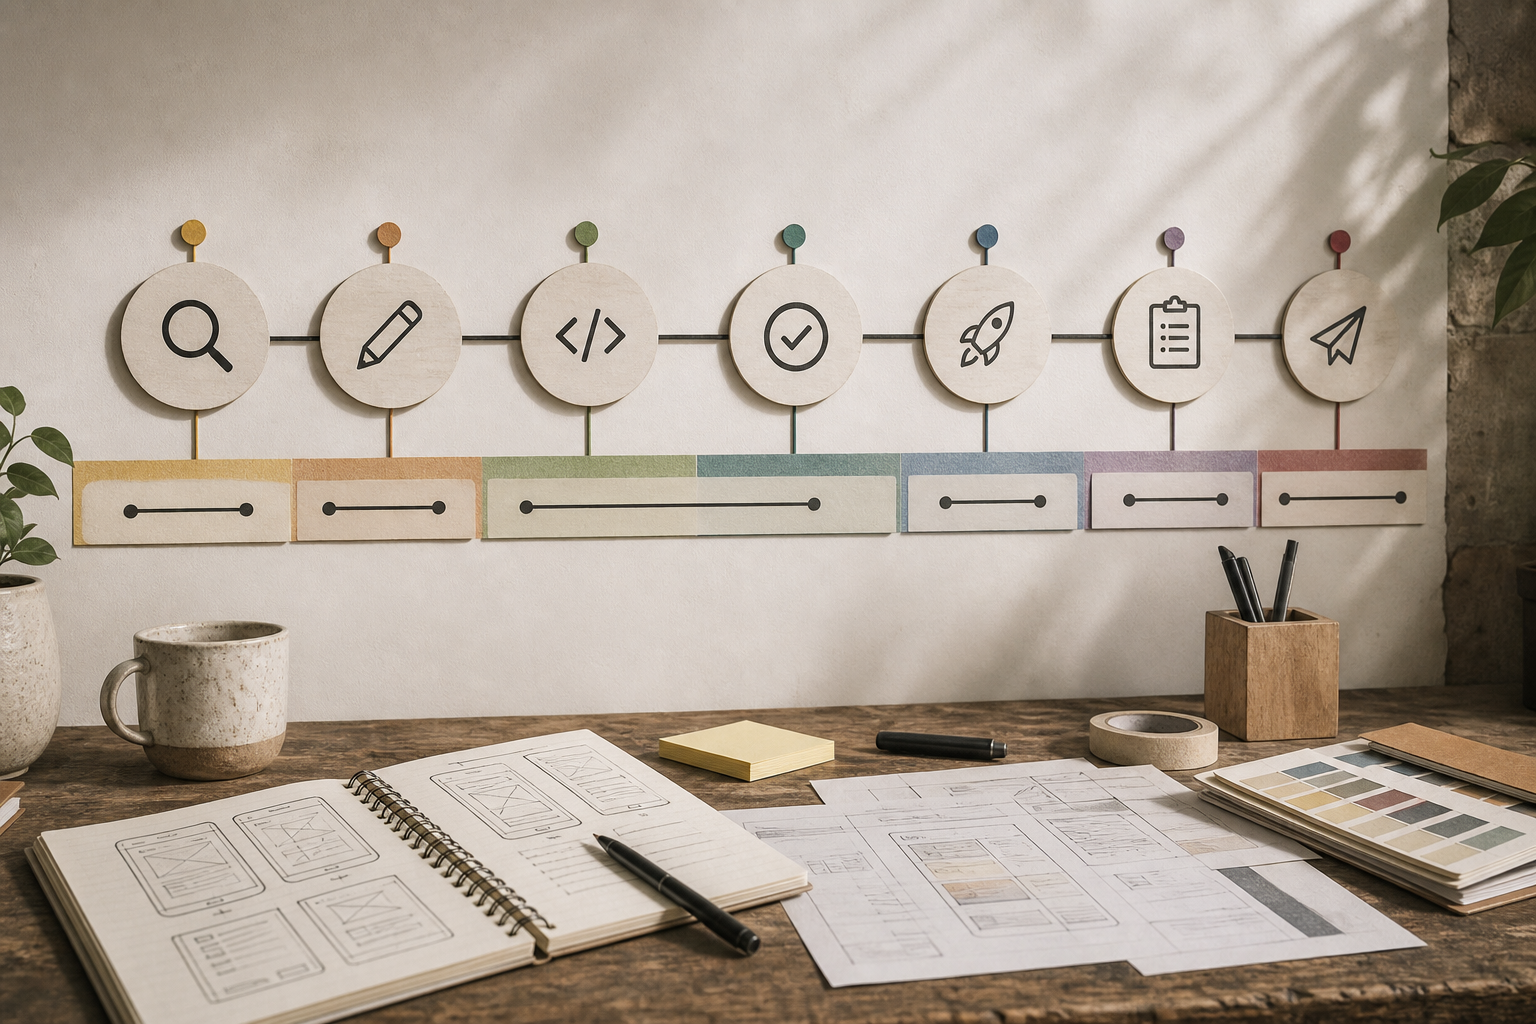
A horizontal timeline block showing the seven steps with approximate time-range bands beneath each icon: Discovery (days - 2w), Design (1 - 3w), Development (4 - 12w), QA (1 - 4w), Launch prep (1 - 2w), Launch, Post-launch growth (ongoing).
You can often reach internal beta in 6-10 weeks for a focused MVP; expect 3-6 months for native performance, complex backends, or many integrations. Discovery commonly takes days to two weeks, design 1-3 weeks, and engineering 4-12 weeks depending on scope and experience.
Quick interpretation: plan time and budget for validation and iteration rather than polishing unvalidated features. App Store review usually takes 1-7 days; remediation after a rejection commonly adds 3-14 days depending on fix complexity.
Business impact: this timeline keeps learning early and avoids costly late redesigns. One thing worth noting - faster timelines raise the risk of technical debt and platform edge cases, so budget at least one maintenance sprint after launch.
Minimal 7-step map (quick reference)
Define the idea & success metric
Pick a one-line value proposition and a primary KPI to guide scope. This reduces feature creep but may force early tradeoffs in monetization or edge cases.
Research & validate
Run five customer interviews, a competitor scan, and a landing page or pricing test (days to two weeks). Validation will catch fatal assumptions quickly, but recruiting the right interviewees usually takes a few days.
UX & prototype
Create wireframes and a clickable Figma prototype and test with five users to catch major usability issues. Fixes here cost hours or days rather than engineering weeks.
Technical design
Choose native vs cross-platform and sketch a one-page architecture diagram showing data flows and third-party dependencies. Expect 1-3 days for the sketch; deeper integrations will extend the timeline.
Build MVP
Implement core flows behind feature flags, set up CI (1-3 days), and use a two-week sprint cadence to limit scope. Plan 2-8 hours/week ongoing maintenance or 0.1-0.5 FTE depending on complexity.
Test & iterate
Use a device matrix and 10-50 beta users (TestFlight / Play internal), capture crashes, and fix high-impact bugs. Beta feedback is noisy; prioritize fixes that affect retention or crashes first.
Launch & grow
Prepare store assets, run a staged rollout, instrument analytics, and run a 30-day retention experiment. Treat launch as the start of learning, not the finish line.
What are the 7 steps to creating an app - ranked by build-phase impact
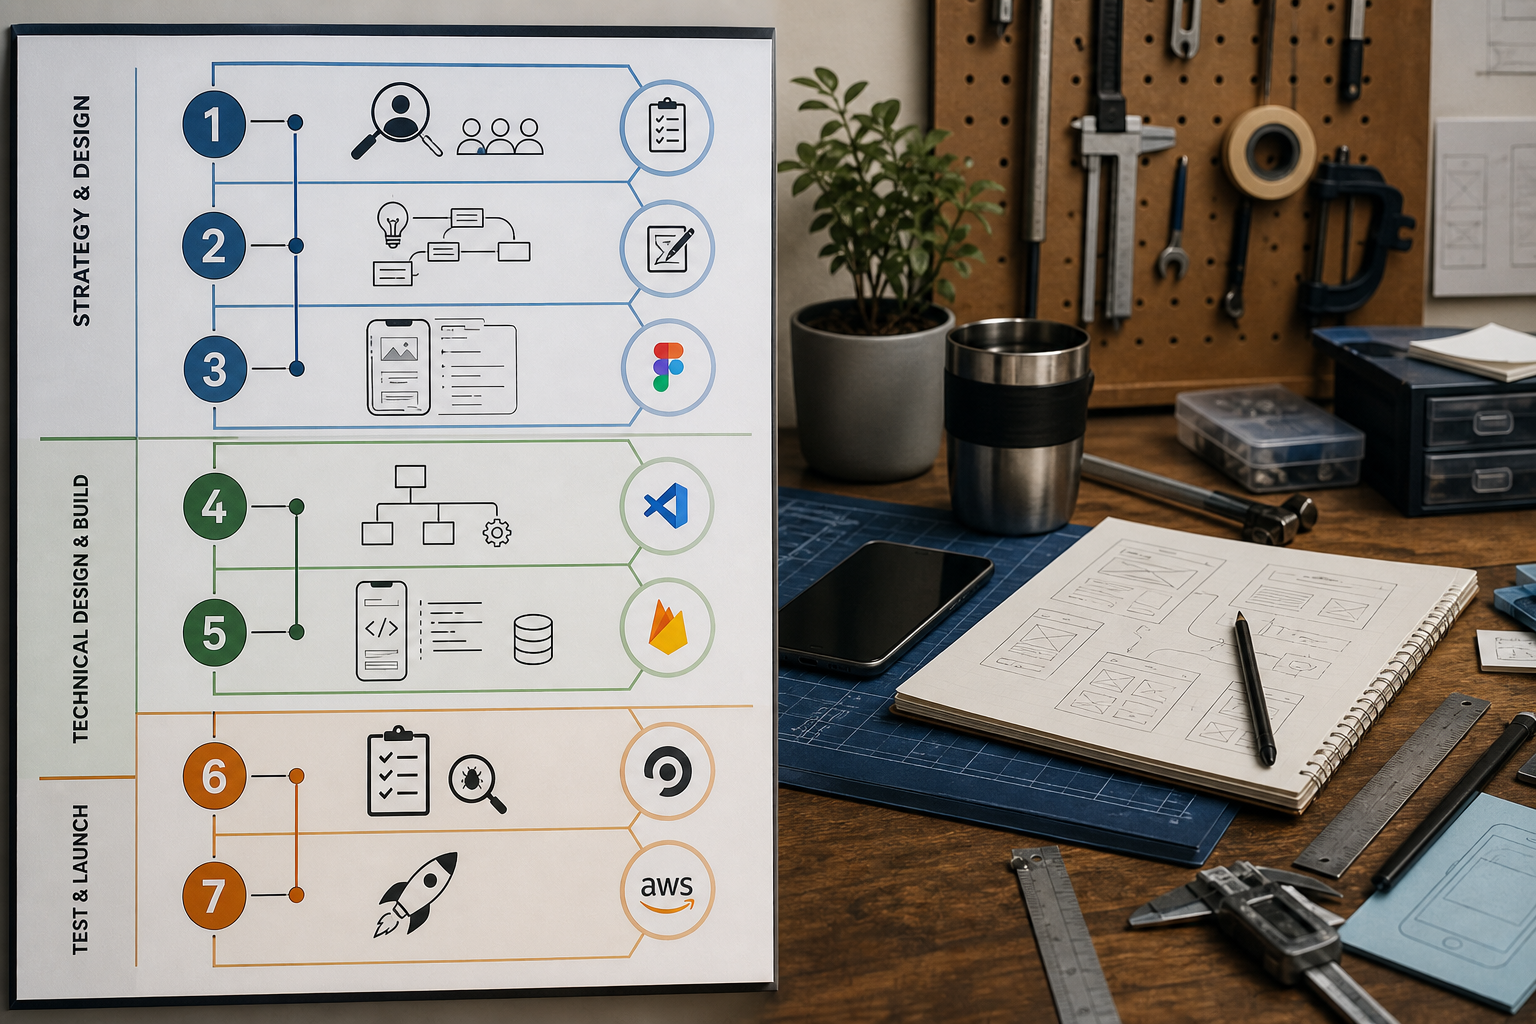
A vertical process diagram that visually groups steps 1 - 3 (strategy & design), 4 - 5 (technical design & build), and 6 - 7 (test & launch), with short callouts for the primary tool or platform at each node (e.g., Figma, React Native, Firebase, TestFlight).
Follow these seven steps in order to reduce rework, surface risk early, and keep the team aligned. Doing them in sequence concentrates learning early and lowers downstream cost.
Step-by-step checklist
Define the idea & KPI
One clear value prop and a single north-star KPI prevents feature creep and focuses tradeoffs. Expect this to take a few hours to a couple of days with stakeholder alignment required.
Research
Five interviews plus competitor notes and a small landing test surface demand or fatal flaws quickly. Recruiting and running tests usually takes 3-14 days.
Prototype
Clickable Figma flows with five usability tests reveal top fixes that cost far less than engineering rework. Prototype rounds typically add 1-3 weeks depending on fidelity.
Technical design
Native (Swift/Kotlin) fits platform expectations but costs more; React Native or Flutter speeds cross-platform work but may need native fixes. Draw a one-page diagram to reduce integration surprises; estimate 1-5 days for a practical design review.
Build MVP
Ship 2-4 reliable core flows behind feature flags. Two-week sprints and an initial CI setup (1-3 days) keep scope under control. Plan for continuous bug fixes after launch and 0.1-0.5 FTE ongoing maintenance for small teams.
Test & iterate
Automate smoke tests, collect crash logs (Sentry / Crashlytics), and run a small beta cohort - these signals predict early retention better than vanity metrics. Expect multiple small releases during beta; schedule a 1-week buffer for last-minute fixes.
Launch & grow
Use staged rollout and immediate monitoring for retention and crash rate; treat launch as the start of a 30-90 day learning loop. Be ready to rollback or pause if crashes or key funnels drop sharply.
Who typically owns each step and suggested tools
- Discovery & validation - Owner: Founder or PM. Tools: Typeform, Miro.
- Design & prototype - Owner: Designer or product lead. Tools: Figma, Maze.
- Technical design - Owner: Lead engineer. Tools: Excalidraw, Postman.
- Build & CI - Owner: Engineering team or contractor. Tools: React Native / Flutter, GitHub Actions, Sentry.
- QA & beta - Owner: QA or PM. Tools: TestFlight, Play Console internal tracks, Firebase Crashlytics.
- Launch & growth - Owner: PM or growth lead. Tools: App Store Connect, Google Play Console, Mixpanel.
One thing worth noting: tool choices affect hiring and long-term maintenance; pick what your team can realistically support and budget for tradeoffs.
How do I choose the right approach, team, and pre-launch checklist?
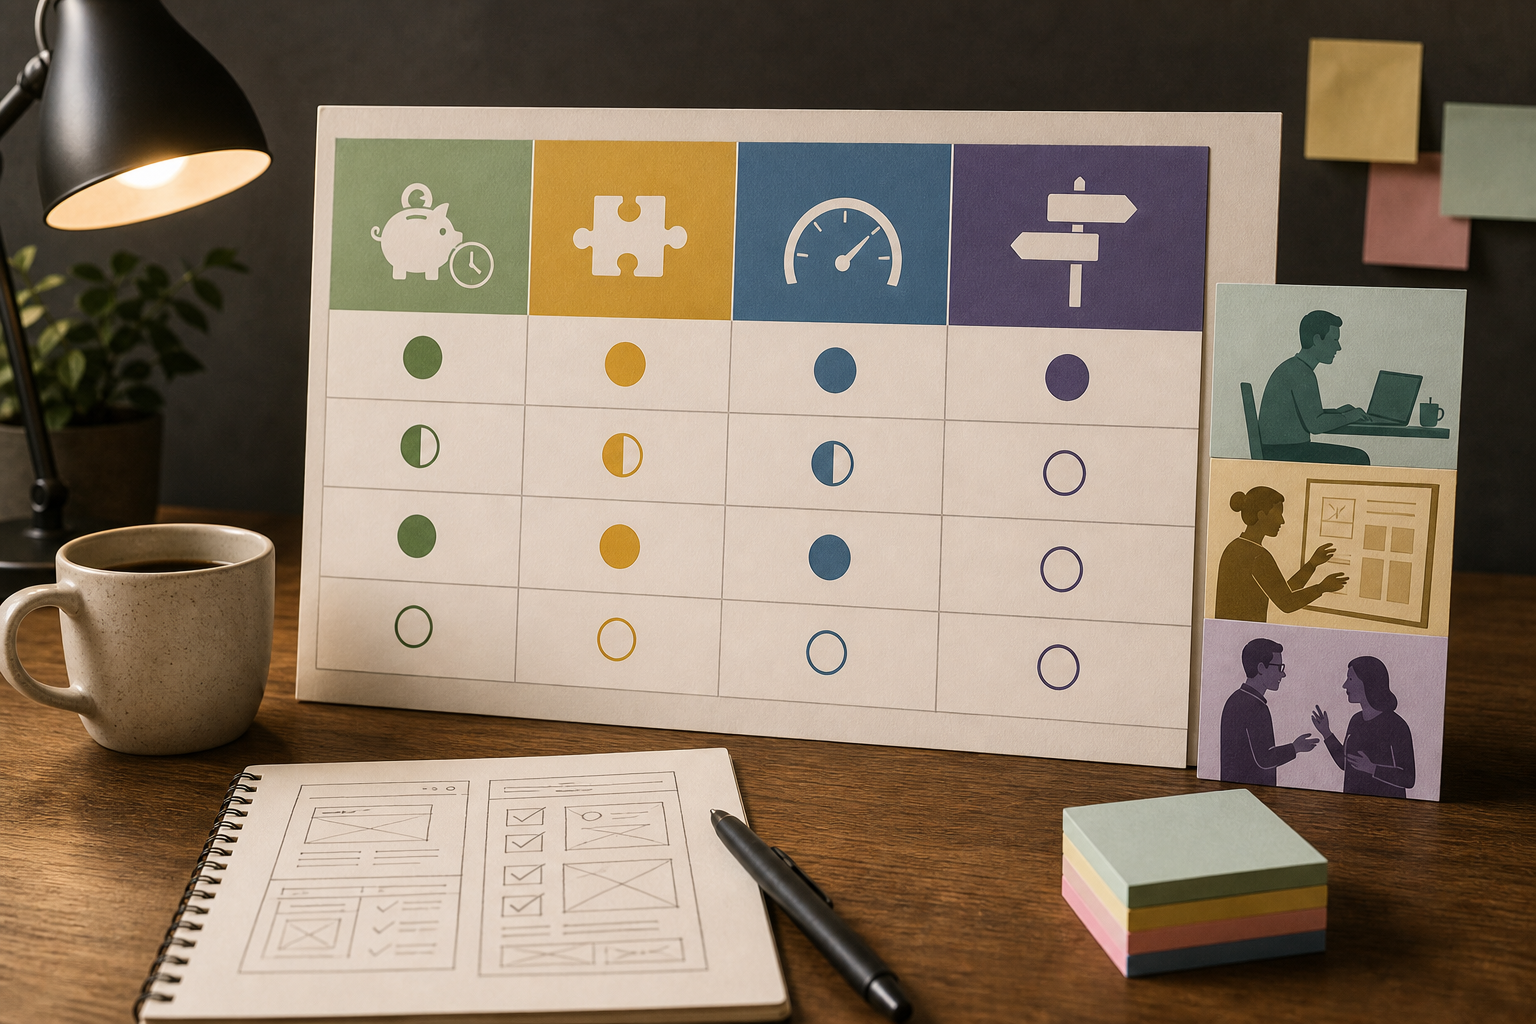
A checklist-style visual that helps readers pick an approach: columns for "Budget & timeline", "Technical complexity", "Need for native performance", and recommended route (DIY / No-code / Contractor / Agency) with ticks on appropriate cells.
Match your timeline, budget, and feature needs to one delivery option; each choice has predictable tradeoffs in speed, cost, and long-term flexibility. Be explicit about constraints up front to avoid scope creep.
Selection criteria: DIY vs no-code vs contractor vs agency
| Option | Best for | Typical budget & timeline | Key limitation |
|---|---|---|---|
| DIY | Founders with coding skills | Low cash (~$0-5k), 4-12 weeks | Slower without design or QA skills |
| No-code (Bubble/Adalo) | Quick validation, internal tools | Low-medium (~$500-5k), days-weeks | Limited native APIs and scaling tradeoffs |
| Contractors | Scoped engineering work | Medium (~$3k-50k), 2-12 weeks | Needs solid PM to coordinate |
| Agency | End-to-end delivery and publishing support | Higher cost (>$20k), 1-3+ months | Less control; longer engagements |
These numbers are directional and vary by region, scope, and hiring mix. Factor ongoing hosting, monitoring, and store fees into your budget.
Pre-launch checklist (priorities and rough effort)
Store assets & compliance (1-3 days).
Privacy policy URL, correct export answers, IAP config, localized metadata. App Store review can be strict; expect at least one round of feedback sometimes.Build & QA (3-14 days ongoing).
Remove debug flags, enable crash reporting, test on a device matrix covering older and current OS versions, prepare screenshots and a short video. CI setup is usually 1-3 days; maintaining pipelines is continuous.Publishing workflow (1-5 days).
Set up App Store Connect and Play Console, add testers, complete tax and banking, plan staged rollout, and assign someone to monitor first-72-hour metrics. Plan an SLA for critical fixes - commonly 24-72 hours after launch.
Final practical step: schedule a staged rollout, monitor crash rate and retention daily for the first 72 hours, and be ready to pause rollout if a severe issue appears.
For tradeoffs, checklists, and edge cases, Everything You Need to Know Before Building Your First App rounds out this section.


